
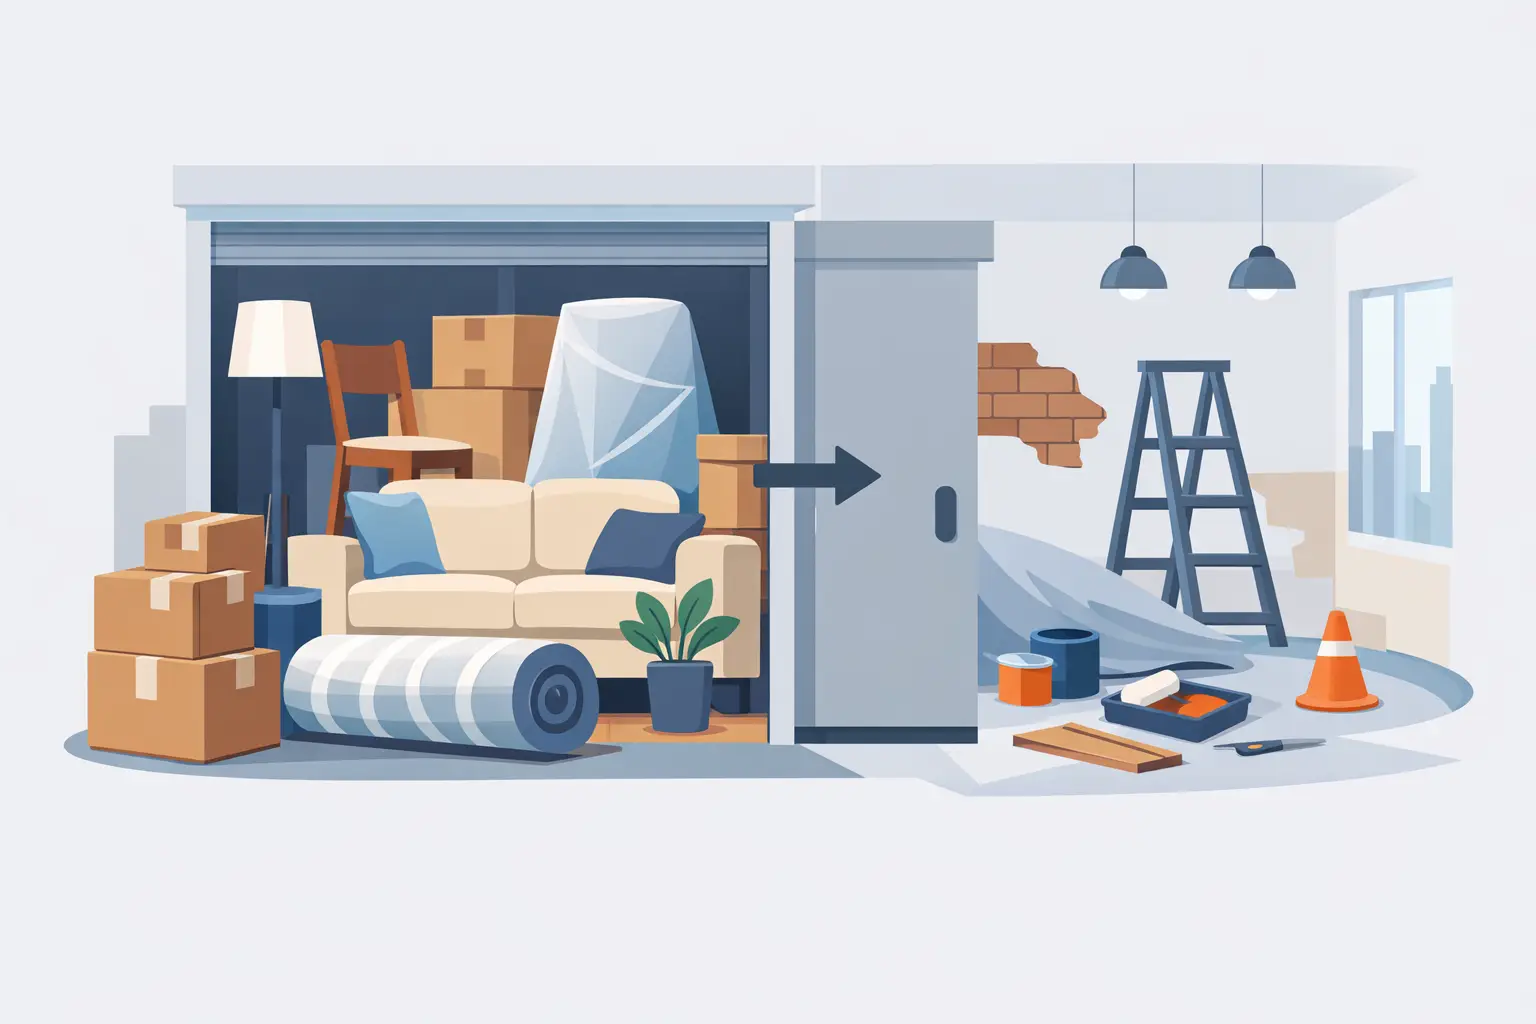
The fastest way to turn a renovation into a bigger headache is to leave your furniture where it is and hope for the best. Dust gets into fabric, paint splatter shows up where it should not, and heavy pieces end up being dragged from room to room every few days. If you are figuring out how to store furniture during renovation, the goal is simple: protect your belongings, keep your work area clear, and avoid handling everything more times than necessary.
That starts with choosing the right storage setup before demolition begins. A rushed plan usually leads to crowded hallways, blocked rooms, and furniture that is covered but still not truly protected.
How to store furniture during renovation without creating more work
The best storage plan depends on the size of the project and how much of your home is affected. If you are repainting one bedroom, you may only need to move a few items into another part of the house. If you are redoing flooring, opening walls, or renovating a kitchen, keeping furniture on-site inside your living space often stops being practical pretty quickly.
The main question is not just where the furniture can go. It is whether that location keeps it clean, dry, accessible, and out of the contractor’s way. A spare room might work for a short job, but if that room becomes a catch-all space, you can end up with stacked furniture, damaged corners, and no clear path to move around your own home.
For larger projects, portable storage often makes more sense than shifting everything from room to room. You load once, on your own schedule, and either keep the container on-site or have it stored off-site. That cuts out truck rentals, repeat lifting, and the hassle of making runs to a storage facility during an already busy project.
Start with a room-by-room plan
Before you move a single chair, walk through the renovation area and decide what actually needs to be removed. Some homeowners move too little and regret it once dust starts spreading. Others move everything, including items that could have safely stayed elsewhere in the home.
Break the space into three categories: furniture that must be fully removed, furniture that can stay in untouched rooms, and furniture you still need access to during the project. This matters because storage is not just about protection. It is also about keeping your day-to-day routine workable while the renovation is underway.
If your project affects multiple rooms, label items by room and priority before packing. That sounds basic, but it saves a surprising amount of time later. When renovation crews finish, you do not want to open every wrapped item just to find a coffee table or the hardware for a bed frame.
Clean furniture before it goes into storage
Storing dirty furniture for a few weeks is rarely a good idea. Dust, food crumbs, moisture, and oils can settle in and become harder to deal with later, especially if pieces are wrapped for protection.
Hard surfaces should be wiped down and dried fully. Upholstered items should be vacuumed well, including under cushions. Wood furniture should be clean and dry before covering, because trapped moisture can cause issues over time. Renovation timelines also tend to stretch, so what feels like a short storage period can easily become longer.
This step is easy to skip when a project is about to begin, but it helps prevent musty smells, stains, and surface damage.
Disassemble what makes sense
Not every piece of furniture needs to come apart, but large or awkward items usually should. Bed frames, dining tables with removable legs, sectional sofas, and shelving units are easier to protect and safer to move when broken down.
Disassembly also helps you use storage space better. A table with the legs removed takes up less room and is less likely to get bumped. The trade-off is that small hardware can disappear fast during a renovation, so place screws, bolts, and brackets in sealed bags and label them clearly. Taping the bag to the underside of the furniture can work, but only if the surface will not be damaged.
If something is fragile, antique, or unusually heavy, do not force a DIY move just to save a little time. One cracked leg or gouged finish costs more than doing it carefully in the first place.
Use the right protection, not just any cover
A lot of furniture damage during renovations comes from poor covering choices. Plastic wrap has its place, but wrapping every item tightly in plastic can trap moisture, especially in humid conditions or during long storage periods. That is not ideal for wood, fabric, or mattresses.
Furniture blankets, breathable covers, and clean moving pads are usually a better choice for most items. Use corner protectors on wood pieces or anything with finished edges. Glass components should be removed, wrapped separately, and stored upright when possible.
For upholstered furniture, use covers that keep out dust without sealing in dampness. For mattresses, use a proper mattress bag. For wood furniture, avoid direct contact with rough surfaces and never stack heavy items on top unless the piece is built to handle that weight.
Choose the right storage location
This is where the renovation plan becomes practical or frustrating. Storing furniture in a garage, basement, spare room, or portable storage container can all work, but only if the conditions are right.
Inside the home, the biggest problem is usually space. You may protect the furniture, but lose the function of another room. In garages and basements, moisture and temperature swings can be a concern depending on the season and how the space is built.
A weather-tight portable storage container solves a lot of those issues for active renovation projects because it keeps furniture contained, protected, and out of the work zone. Ground-level loading also makes a big difference. You are not carrying furniture up a ramp or loading a truck just to unload it again somewhere else. For homeowners who want less disruption, that convenience is hard to beat.
If your driveway or property can accommodate on-site storage, keeping the unit close by gives you access without filling your house with furniture. If space is tight or the renovation is more extensive, off-site storage may be the cleaner option.
How to pack a storage container during a renovation
If you are using portable storage, pack it with the renovation timeline in mind. Heavier pieces should go in first and sit against the walls for stability. Lighter and more fragile items should be placed on top or in protected zones where they will not shift.
Leave small walkways if you think you may need something before the project ends. That is especially helpful if the renovation runs longer than expected, which happens often enough to plan for it.
Do not overpack upholstered furniture against sharp edges or stack unprotected wood surfaces face-to-face. Use padding between items and keep everything lifted slightly off the floor if there is any risk of moisture from packed materials or weather exposure during loading.
The key is to load once, load carefully, and avoid reopening and reshuffling the whole unit every few days.
What not to store during renovation
Some items should stay with you rather than go into long-term temporary storage. Important documents, jewelry, medication, daily electronics, and anything highly sensitive to temperature are better kept in a secure, climate-appropriate part of your home or with you directly.
You should also think twice about storing items you use every day unless you have an easy backup plan. It sounds obvious, but plenty of people pack away half their kitchen or all their living room seating before realizing the renovation only affects one section of the house.
A good storage plan protects your furniture without making normal life harder than it already is.
When on-site storage makes the most sense
On-site storage is often the easiest choice when you want control and quick access. If contractors are moving through the home daily, clearing rooms completely can help the project move faster and reduce the chance of accidental damage.
For families, it also helps preserve a little order. Instead of living around stacked furniture for weeks, you keep the home more open and easier to manage. That matters when renovations are already disrupting meals, routines, and sleep.
For projects in Belleville, Trenton, Prince Edward County, and surrounding areas, a local portable storage option can be especially useful because delivery and pickup are built around your schedule, not a long drive to a storage facility. Storbox Mobile is designed for exactly that kind of flexibility – one delivery, one careful load, and the choice to keep your container on-site or have it stored securely off-site.
Give yourself more space than you think you need
One of the most common mistakes during renovation is underestimating how much room furniture really takes up once it is covered, disassembled, and packed for protection. A room that looks large enough on paper can fill up fast.
If you are between two storage options, the extra space is usually worth it. It gives you safer loading, better organization, and less risk of damage from cramming everything together. A little breathing room makes the whole project easier.
Renovations are messy enough without turning your furniture into part of the problem. Store it once, store it properly, and give yourself a clear path to get the work done with less stress.
